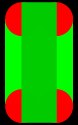
 |
The = Sign shows
where I plan to put buttons. |
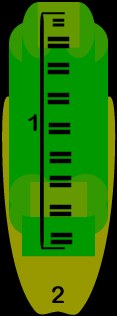
| The
"1" Shows the section which will contain most of the buttons |
| The
"2" Shows where I plan to add a special button for my Email
address |
- When Creating an Interface, The shapes most used are Circles and Squares,
The following table shows how some shapes can be created:
|
GREEN =
Rectangles RED = Circles |
 |
 |
This shows the basics of creating a pill shape. 1 Square
combined with a circle at the top and
bottom. |
GREEN = Rectangles
RED
= Circles |
 |
 |
This shows a more complex shape made with 4 circles and 2
rectangles. |
3. Next after you have the basic shape (as shown
in the first picture) you must now plan what kind of textures, colors, and
bevel's will be used and where they will be put.
- For This Interface, I decided to to apply a smooth paper texture
with a smooth bevel for the front.

4. Finally, create buttons of your choice, and
apply them in the style you want. I like to save a separate spot on the
Interface for an email button as shown below:

5. Finally With some finishing touches
you can have a pretty good lookin interface! Have fun.
|